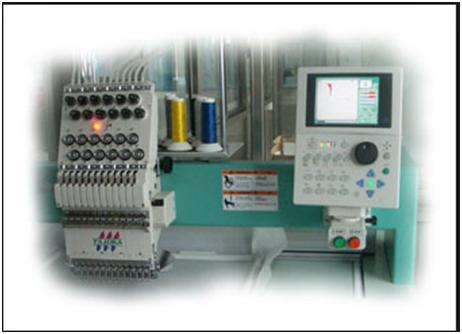
One of the most common shortfalls in the embroidery industry is attention to detail. Wanting to be a good – or even excellent – digitizer requires exceptional attention to detail and knowing what can be taken out or left in a design based on the size of the finished embroidery. The best digitizers are able to sit down in front of pretty much any design and in his or her mind see the design running on the sewing machine. Once you achieve this level of expertise, you can make any sewing machine do what you want it to!
Understanding Details
Unless you are a seasoned digitizer, it is nearly impossible to look at a complex piece of artwork, for example something that is 8 ½ inches x 11 inches in size, and decide what detail should be taken out or left in for it to sew at the right height. Here’s a tip: print out a copy of the actual artwork at the desired height to see the exact finished size of the embroidery. This will also help you to determine if the design needs to be simplified.
Understanding Spacing
Ideal images for embroidery will have objects that are widely spaced compared to normal artwork. A good Embroidery Digitizer will understand that shapes will close up on stitch out unless the proper technique is applied. So spacing needs to be added either when artwork is created or during the digitizing process. You can add space to a design by reducing the overall finished size by about 15%. Start from the center of the design and work your way out to the left side, increasing the space as required. Repeat the process on the right side. Check the width to see if you are close to the finished size.
Understanding Legibility
When it comes to legibility, minimum height for standard text is 4mm. Letters with many curves will require larger minimum sizes.
Understanding AppliquesBreaking down artwork for appliques is a good exercise. First decide is a design is applique-friendly. Appliques tend to require wider areas for stitching so a decent minimum stitch width for a column is 4mm.
A Few More Quick Tips
- Attention to detail – a good digitizer can identify what needs to be left in or taken out of a design based on the size of the finished product.
- Fabric and finish size – will help to determine the size the design will be stitched out at.
- Detail – the more detail you can take out, the smoother a design will sew out on a machine. Less is more!


