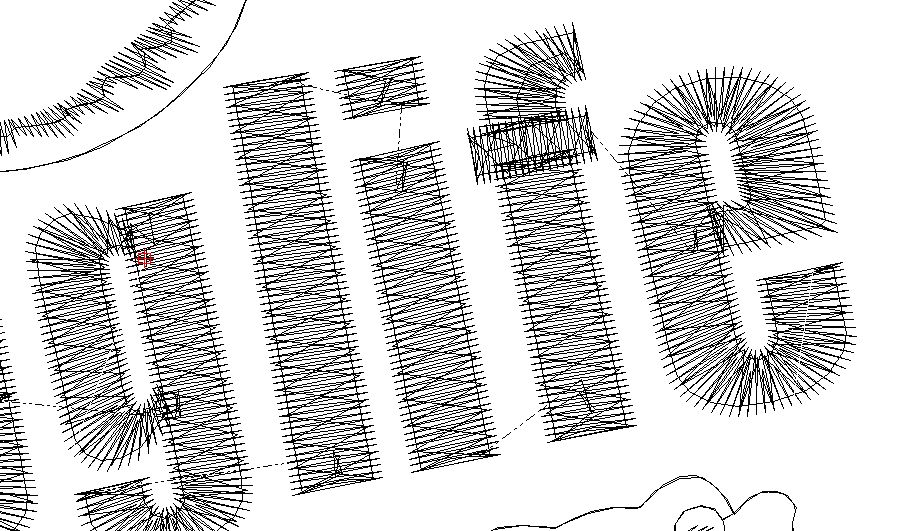
While understanding the types of underlay is winning half the battle, the second half is to get a grip on the settings and common terminology used. When handling any kind of software, there happen to be a few universal terms that you will come across when looking into the settings. Knowing what these terms mean and then exploring the same will offer you a better edge and help make that learning curve less steep. This revisiting of the basics will also help improve efficiency, no matter what your skill level.
Here’s an insight into the common tools and terminology you’re most likely to come across when digitizing underlay:
- Density – The density tool helps you decide the thickness of the underlay stitches. While the norm is 10.5 spi, you can increase or decrease the same according to your fabric and design requirements.
- Angle – This tool helps you adjust the angle on your underlay. For instance, when dealing with leather, in addition to keeping the density low, it is recommended to rotate the underlay to 45 degrees.
- Stitch Length – This tool will help you establish the length of each stitch in the underlay. Very useful when embroidery digitizing for 3D puff designs. While keeping the stitch length shorter for smaller sizes and 3D foam designs is the way to go, do remember it will add to your final stitch count.
- Drop Run Stitch – This setting helps with the accurate placement of run stitches and comes with options like at anchor, none and chord gap. While At Anchor will help you drop the run stitch and only penetrate it at anchor points, None will allow the run stitches to cover the stitch length and Chord Gap helps shorten the stitches at the top of any curve for a crisp stitch out. Also, the Max Chord Gap will help you set the maximum gap between two points on a Bezier curve.
- Inset – This is one term you’ll hear more often than not as you set out on your embroidery digitizing endeavor. It refers to the distance at which the underlay stitch is placed from the edge of the top (decorative) stitches, so that it stays concealed in the final output. While Inset A refers to the outside inset, Inset B helps establish the inside inset.
- Sequence – This tool helps you decide which type of underlay should sew on first. For instance, you’d like to place a perpendicular before a zigzag for extra support.
- Repeats – As the name suggests, this tool comes in handy when you want the underlay to be repeated for a certain spot.
- Override – At times, you might want to use a different style of underlay than programmed into the settings, and the override tool helps make it happen.
At Powerstitch.com, we offer expert embroidery digitizing services for picture-perfect registration and smooth production runs for all your design needs. With over 8 years of professional expertise, you can count on us for impeccably digitized artwork at the most competitive rates, delivered on time, each time.