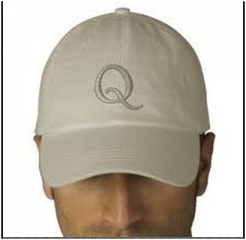
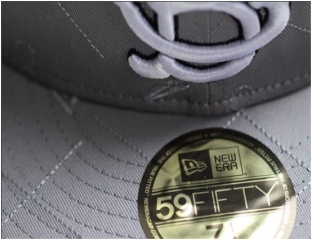
Embroidery on caps makes for a stylish finishing touch, a memorable fashion statement or a fantastic branding opportunity to extend market reach for a business. Whatever your reason for wanting to decorate a cap, there are a few things to keep in mind during the embroidery process. Below are some tips that will help make decorating caps and hats an easy and stress-free project.
Size matters – smaller designs tend to work much better than the larger ones when embroidering hats. The design you choose should be able to fit into a flat section of the cap. So the size of the cap area you want to embroider on will determine the size of your design.
Make sure to have a template – having a design template will help when it comes to placing the design neatly on the cap. The template also helps with hooping the hat as it will give you the cross lines needed to hoop correctly.
Random designs will work nicely – caps can be difficult to hoop and ensure they are in the hoop straight so random designs that don’t need to be centered will help eliminate hooping problems.
Stay away from squares – square shaped designed necessitate straight hooping and correct centering which can be tricky.
Use the right backing – use the backing that’s designed for caps in order to enhance the clarity of your design. Backing also maintains the tension of the bobbin thread.
A Few Things to Avoid
Caps are difficult to work with and more prone to quality issues but here are a few common mistakes that will help you to get your process going smoothly.
Slow down!
If you want to create quality embroidery simply slow down. For a typical cap, run your machine at around 600 stitches per minute. Of course, every design will be different but as a rule you should slow your machine down if a design has intricate details.
Proper hopping
The quality of caps can suffer when hooped improperly. Caps need to stay tight in the Durkee hoop, as well as straight and centered. That’s why random designs make hooping a little easier as they will need to be embroidered slightly skewed to look neat.
Thread Tension
Thread tension problems are common errors. Remember to check your thread tension regularly and ensure your stitches are tight.
Bobbin checking
Remember that every time you change bobbins you will need to check thread tension. A loose or too tight bobbin will hamper the quality of the cap embroidery.
Changing needles
Get into the habit of checking your needles regularly and replace them as needed. Neglecting to replace a bent needle can scratch the bobbin case, causing the thread to fray and break.
Proper placement
It’s not a good idea to decorate designs too low on the cap. When you see a design on the peak of the cap, or next to the bill, it’s often been done on a flat panel program before assembly. Attempting to embroider on the bill or frame of the cap could likely result in a needle catching and the machine crashing.
By avoiding these 6 common mistakes you will be better able to maintain a high quality of workmanship that anyone would be proud to wear!


